Grab your iPad and whatever art supplies you have lying around, and join me for something a little messy and a lot of fun. In each of the three projects, you’ll start with a quick analog warmup to loosen up, then make textures and shapes by hand before bringing everything into Procreate to layer, color, and turn it into finished digital illustrations of fun, analog-inspired subjects!
Buy course individually or join the club below to start creating today!
Whether you go month-to-month or all-in for the year, every plan unlocks the same creative tools, inspiring lessons, and a community ready to cheer you on. Annual plans offer the best deal and keep your creative practice going strong, all year long.
There’s something special about starting with real materials. Paint does its own thing, paper tears a little uneven, and you end up with marks you never would have planned. In this class, you’ll bring that into your digital workflow.
You’ll create simple analog pieces, bring them into Procreate, and build them into finished illustrations. It’s a small shift in process, but it changes how your work looks and feels.
Get a feel for the process and how this all comes together. In this short intro, I’ll walk you through how we’re combining analog materials with Procreate, and what you can expect as you move through the projects.
Hi, I'm your teacher, Lisa! I’m a digital artist, educator, and lover of all things creativity. I’ve taught tens of thousands of students how to use Procreate and develop their own artistic style.
While I spend a lot of time working digitally, I’ve always loved working with analog materials like paint, ink, and paper. Bringing those two worlds together has become a big part of my work, and in this class, I’m sharing the exact process I use to combine them.
All you need to take this class is an iPad with Procreate, and some basic art supplies you probably already have: cheap craft paint, crayons, pencils, printer paper, it all works!
If your work has been feeling flat or overly digital, this is often the missing piece.
Adding analog elements brings in variation, texture, and a kind of visual interest that’s hard to recreate digitally. It also makes the process more engaging, because you’re reacting to what you made instead of trying to control every step.
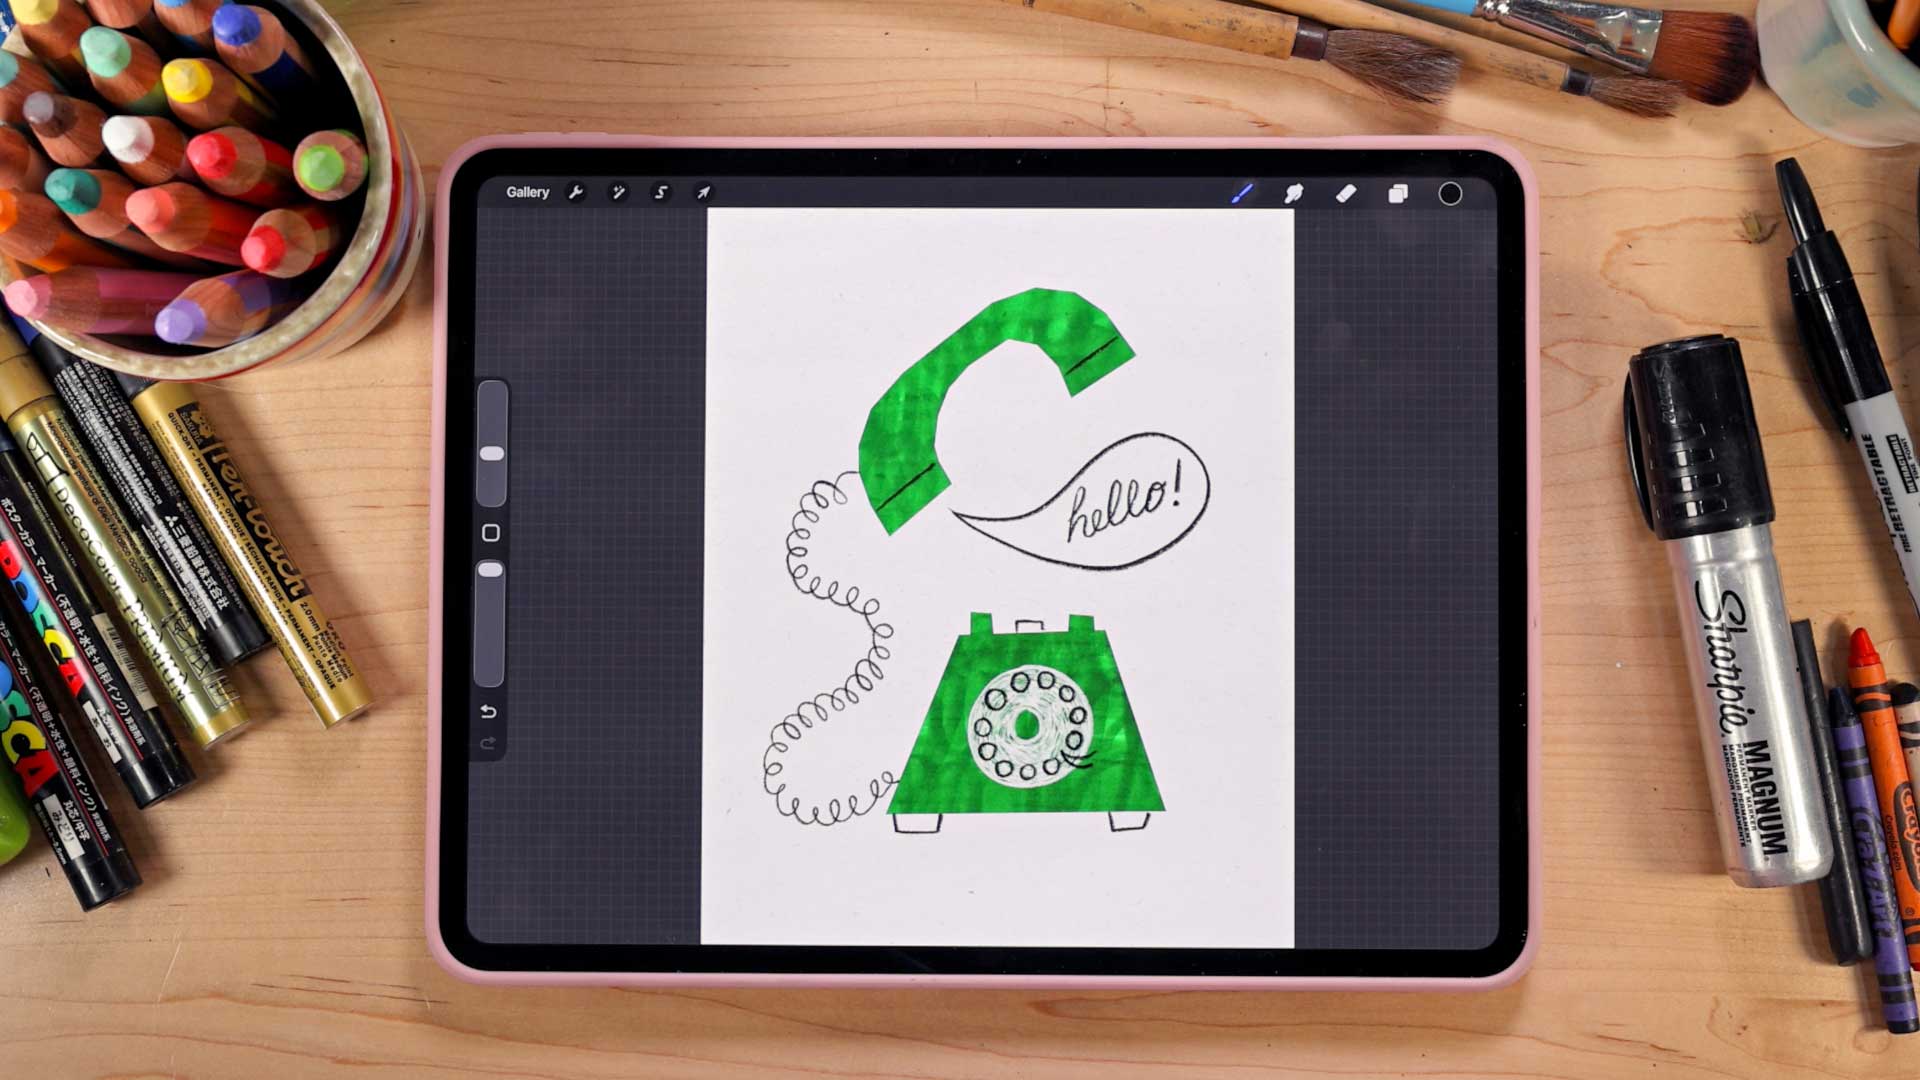
In the first project, you’ll create your own handmade textures and use them as texture overlays in Procreate to build your illustration.
The focus is on how those textures interact with your shapes. You’ll see how something pretty rough or even a little chaotic on paper can end up feeling surprisingly cohesive once you start layering and adjusting it digitally. This is where you start to understand how analog and digital work together.
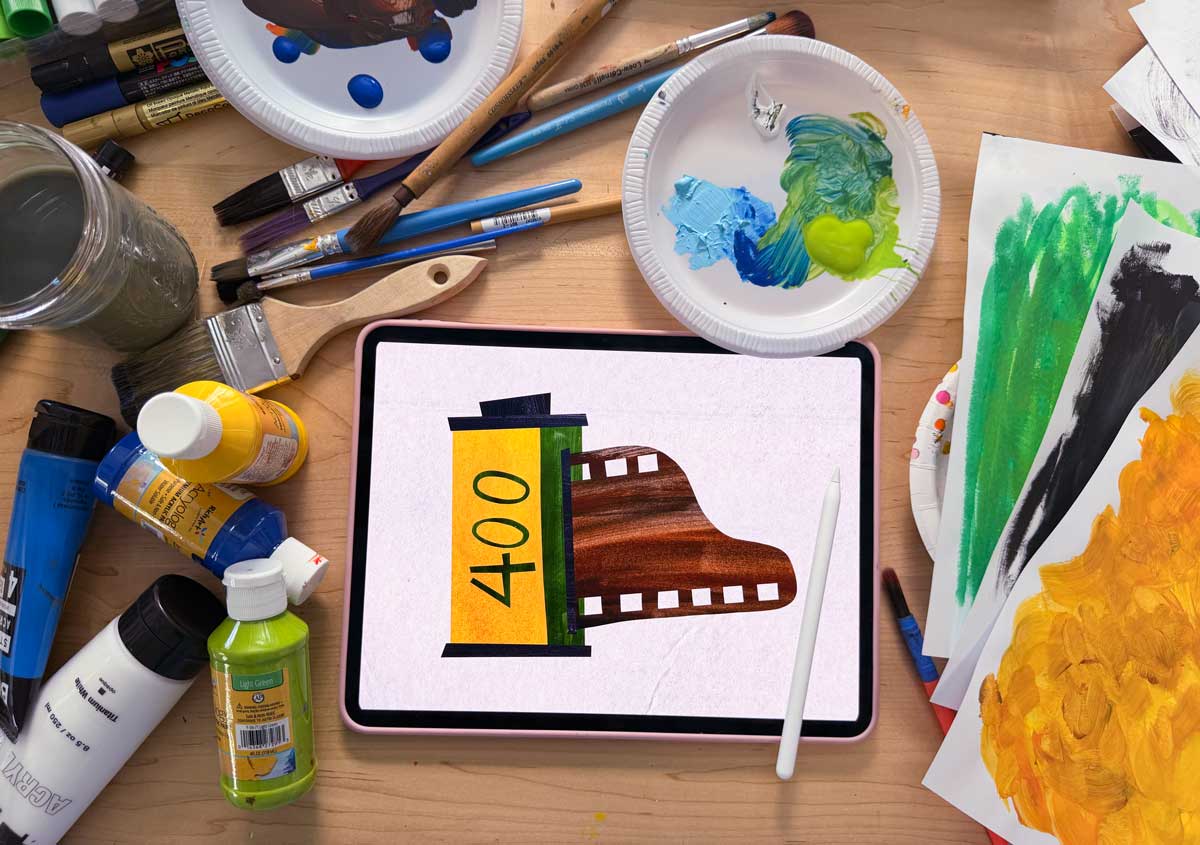
In this project, you’ll create a set of painted papers, then bring them into Procreate and use them as a digital collage to build your illustration.
This approach gives you more control over color while still keeping that handmade quality. It also introduces a more layered way of constructing your work, piece by piece. You’ll start to see how these materials can be reused and adapted in different ways.
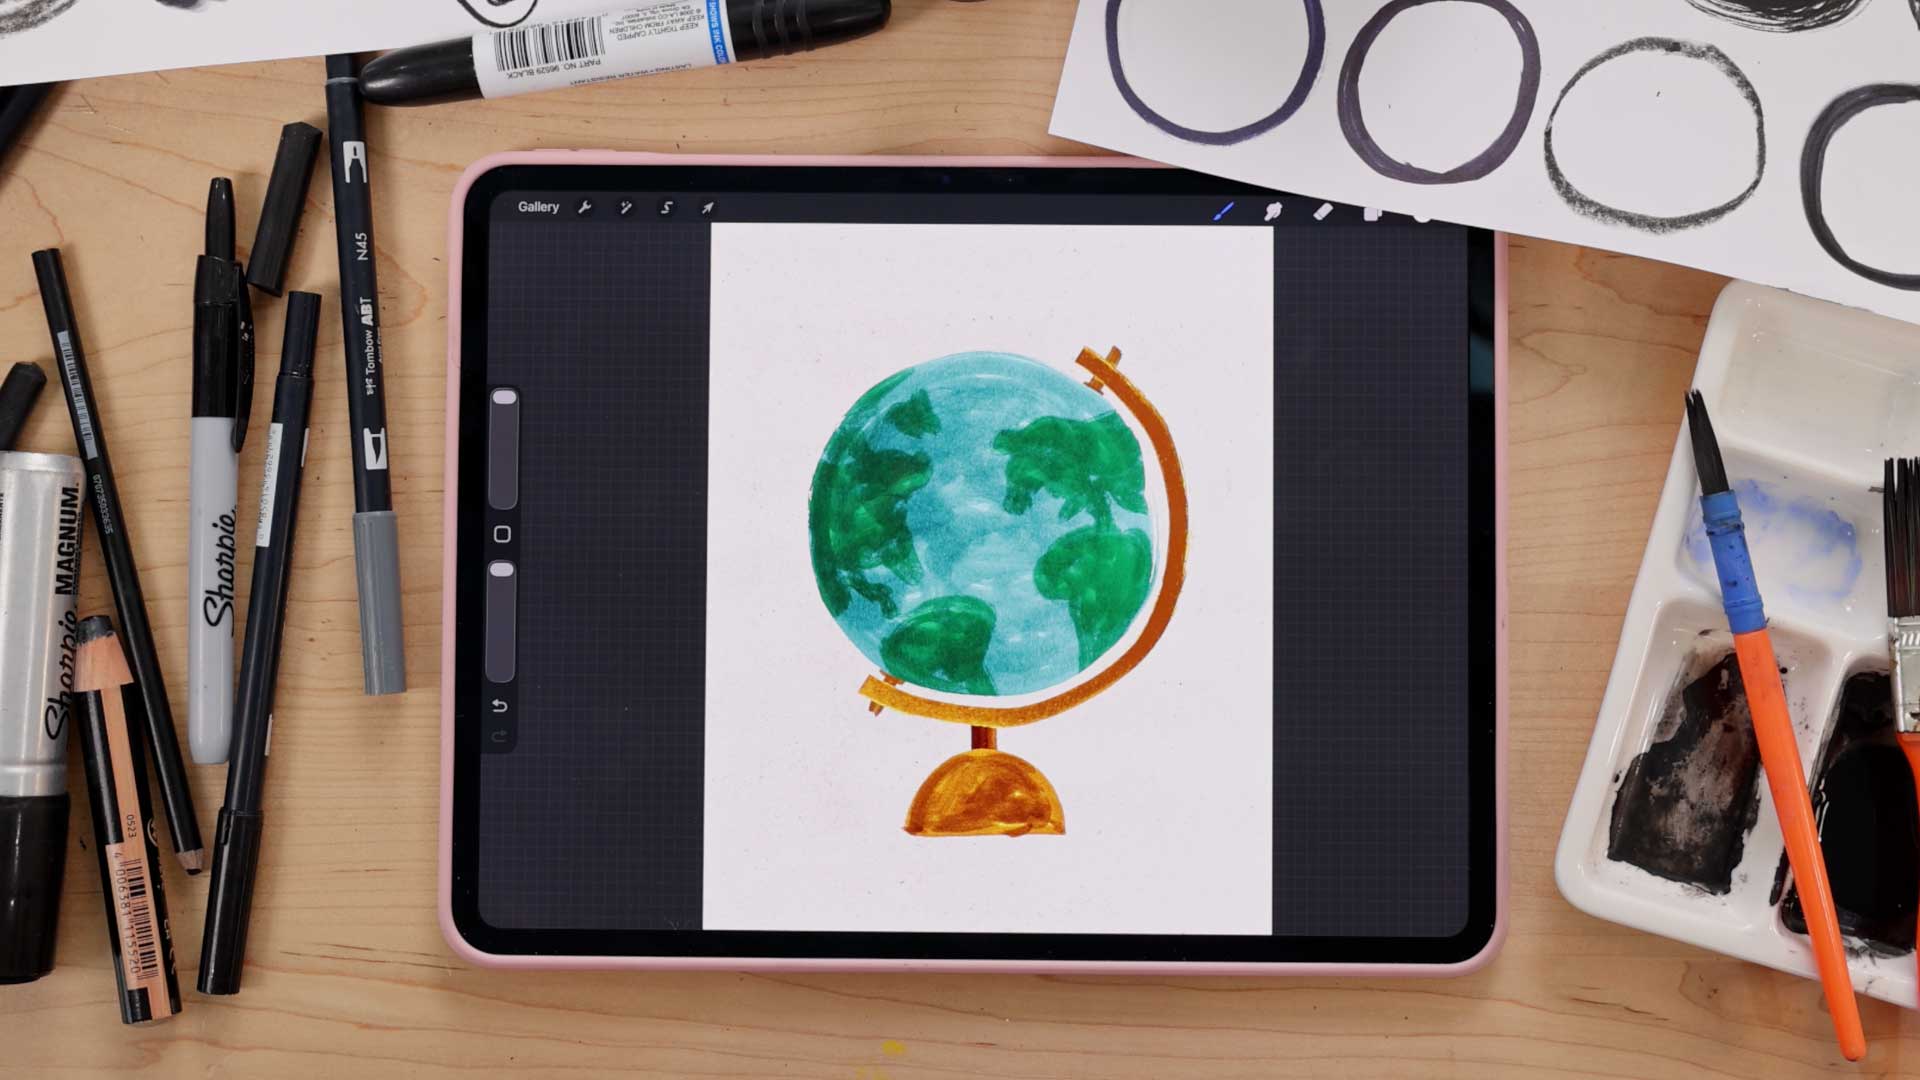
In this final project, you’ll create a globe illustration using simple shapes as your foundation.
This project shifts your focus again. Instead of textures or painted papers leading the process, you’ll start by breaking an object down into its most basic forms and building from there. It’s a really fun way to think about illustration. Instead of tying to draw something perfectly, you’re asking: what’s the simplest version of this shape, and how can I build it using the materials I already made?