No.1 - Orange
Welcome to the first drawing lesson of this course! We'll begin by tackling a simple subject: an orange. You'll see how basic shapes and a few lines can become something really cute!
In this lesson, I'll show you how to
browse brushes, and choose a color using the Color Picker
use Quickshape
add texture using Alpha Lock
work with Layers
utilize Procreate gestures
🖌️Brushes Used
Orange and leaf shapes: Studio Pen (Inking set)
Orange texture & shading: Newsprint (Vintage set)
Leaf shading: Campagnia (Vintage set)
Important Note about the Procreate brush library
Since the recording of this class, the brush library has changed a bit. If you do not see the brushes mentioned in this class, pinch in with two fingers on the brush panel to display the different brush libraries. Find the "Classic Library" and tap it. This is where you'll find the brushes used in this class.
Create a new Procreate canvas using the Canvas Template we made for this class and let's get started. Below are some key features from this lesson for you to review.

Using Quickshape
You can draw perfect circles, rectangles, triangles, lines, and more using Procreate's Quickshape feature. To evoke Quickshape, draw a circular shape but keep your Apple Pencil touching the screen. Your shape will snap to an oval. Use your other hand to place a finger on the screen to snap your oval into a perfect circle.
Filling Shapes with Color Drop
To fill an area with color, draw a completely closed shape, then drag your Apple Pencil from the Color Picker circle to your shape.
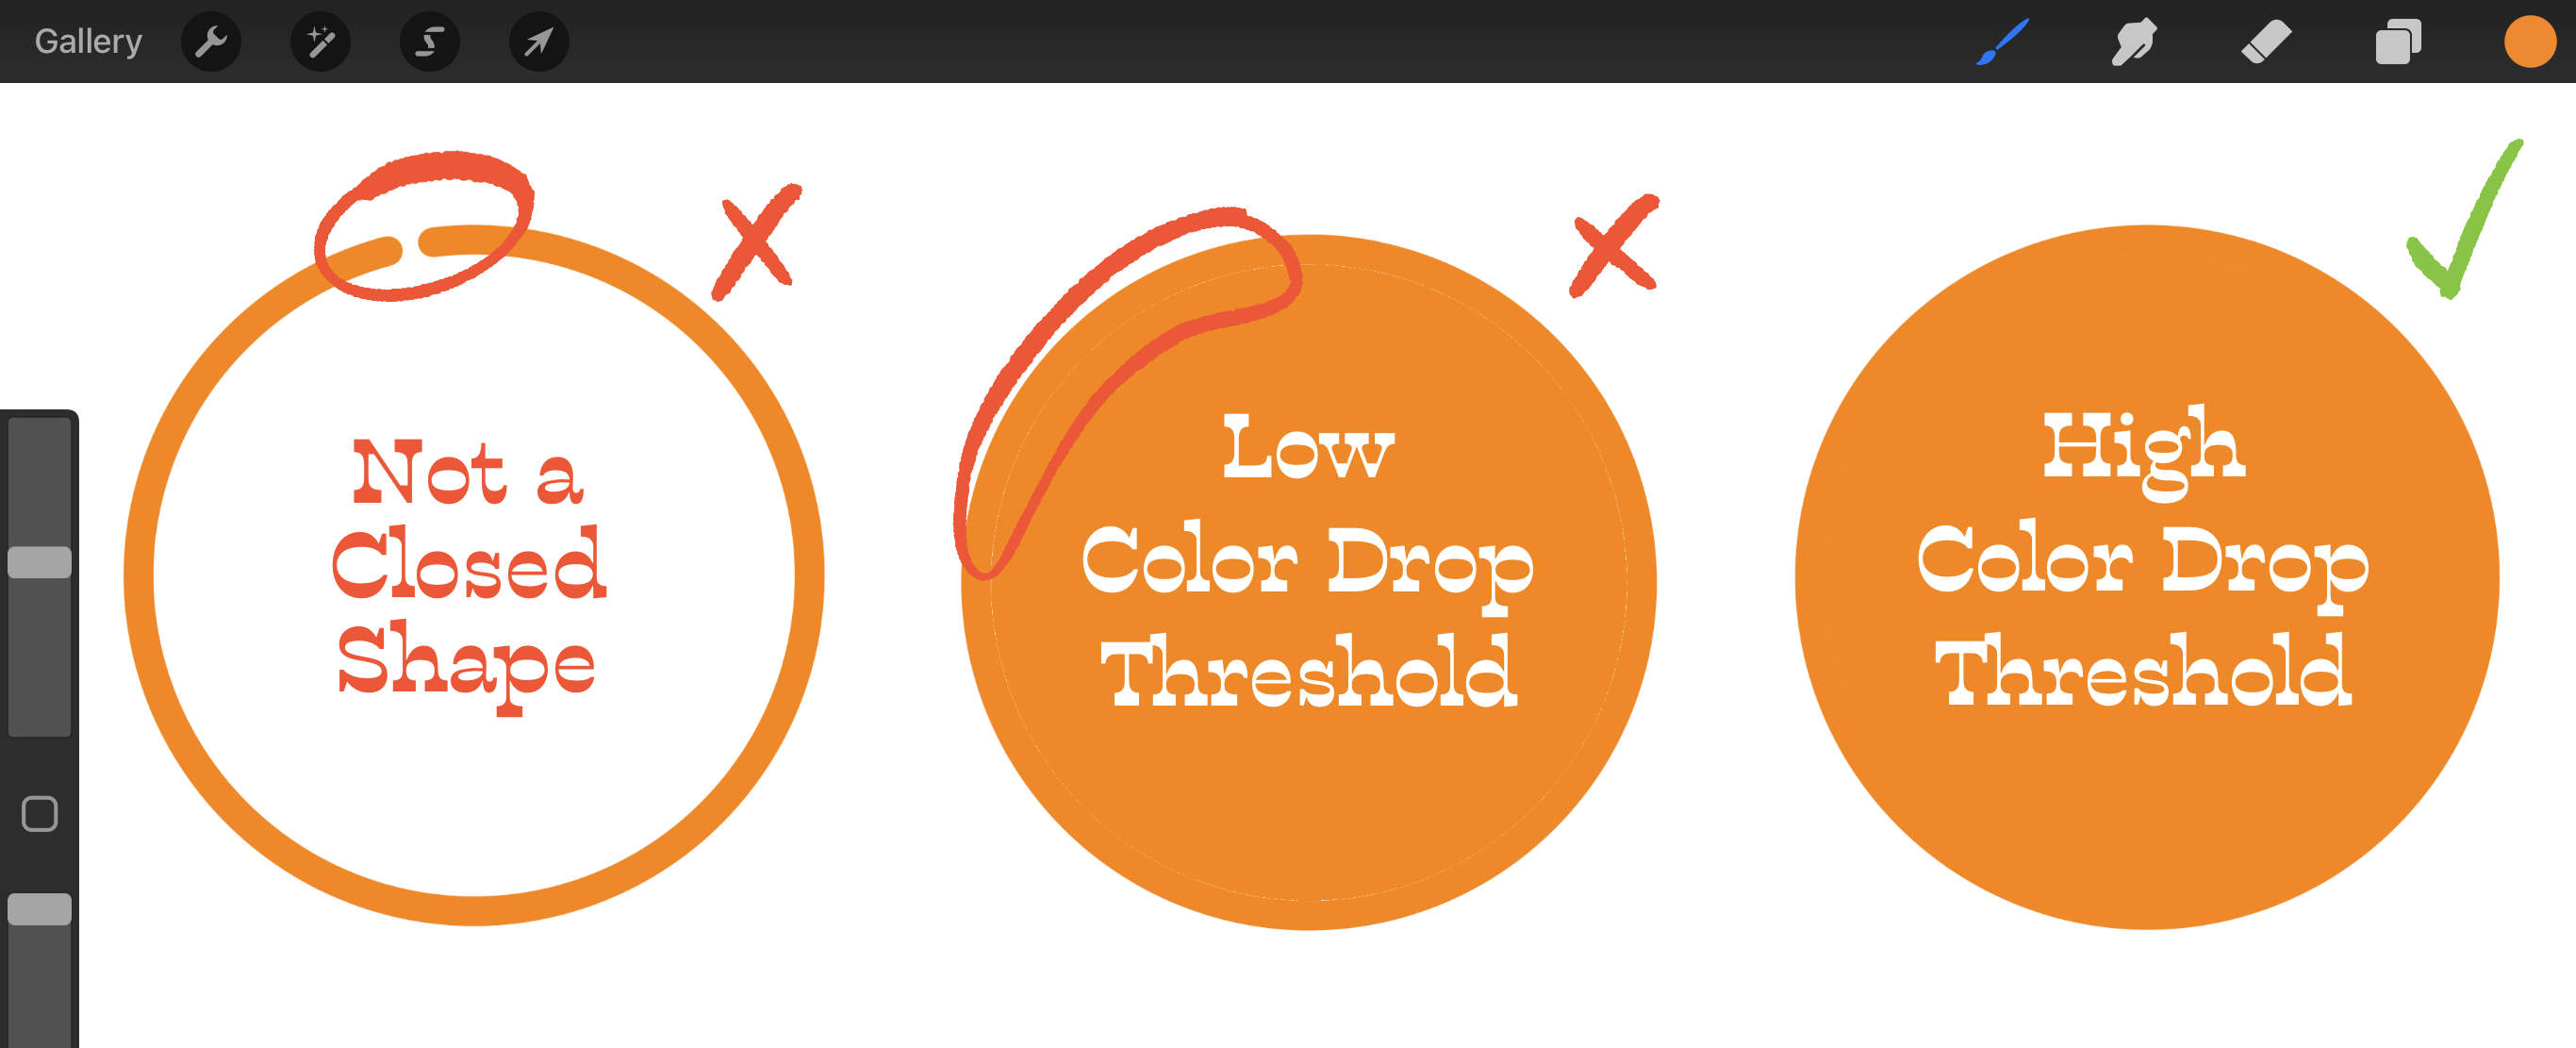
Adjusting Color Drop Threshold
If your entire canvas floods with color, or you see a white gap in your shape, you need to adjust your Color Drop Threshold. Here's how to adjust it:
Tap on your screen with two fingers to Undo. Repeat the Color Drop motion again by dragging your Apple Pencil from the Color Picker circle to your shape - but this time don't lift up your Apple Pencil at the end.
You'll see a blue bar appear at the top of your canvas. This is your Color Drop Threshold. Without lifting your Apple Pencil, drag to the left and right to see how this affects the way Procreate fills your shape with color.
How to Create a New Layer
Layers allow you to separate out parts of your artwork so you can work on them independently without affecting what's on other layers. To create a new Layer, open the Layers Panel, then Tap the plus sign to create a new layer.
Enabling Alpha Lock
Turning on the Alpha Lock feature allows you to "lock" the shapes on a layer, so that you can only draw within those shapes. Here's two ways to enable Alpha Lock:
Enable in the Menu: Open the Layers Panel. Select a layer, then tap that layer to invoke the Layer Options Menu. Tap Alpha Lock. A checkerboard pattern will display in the layer thumbnail, letting you know Alpha Lock is enabled.
Enable with a Gesture: Swipe to the right over a layer using two fingers.

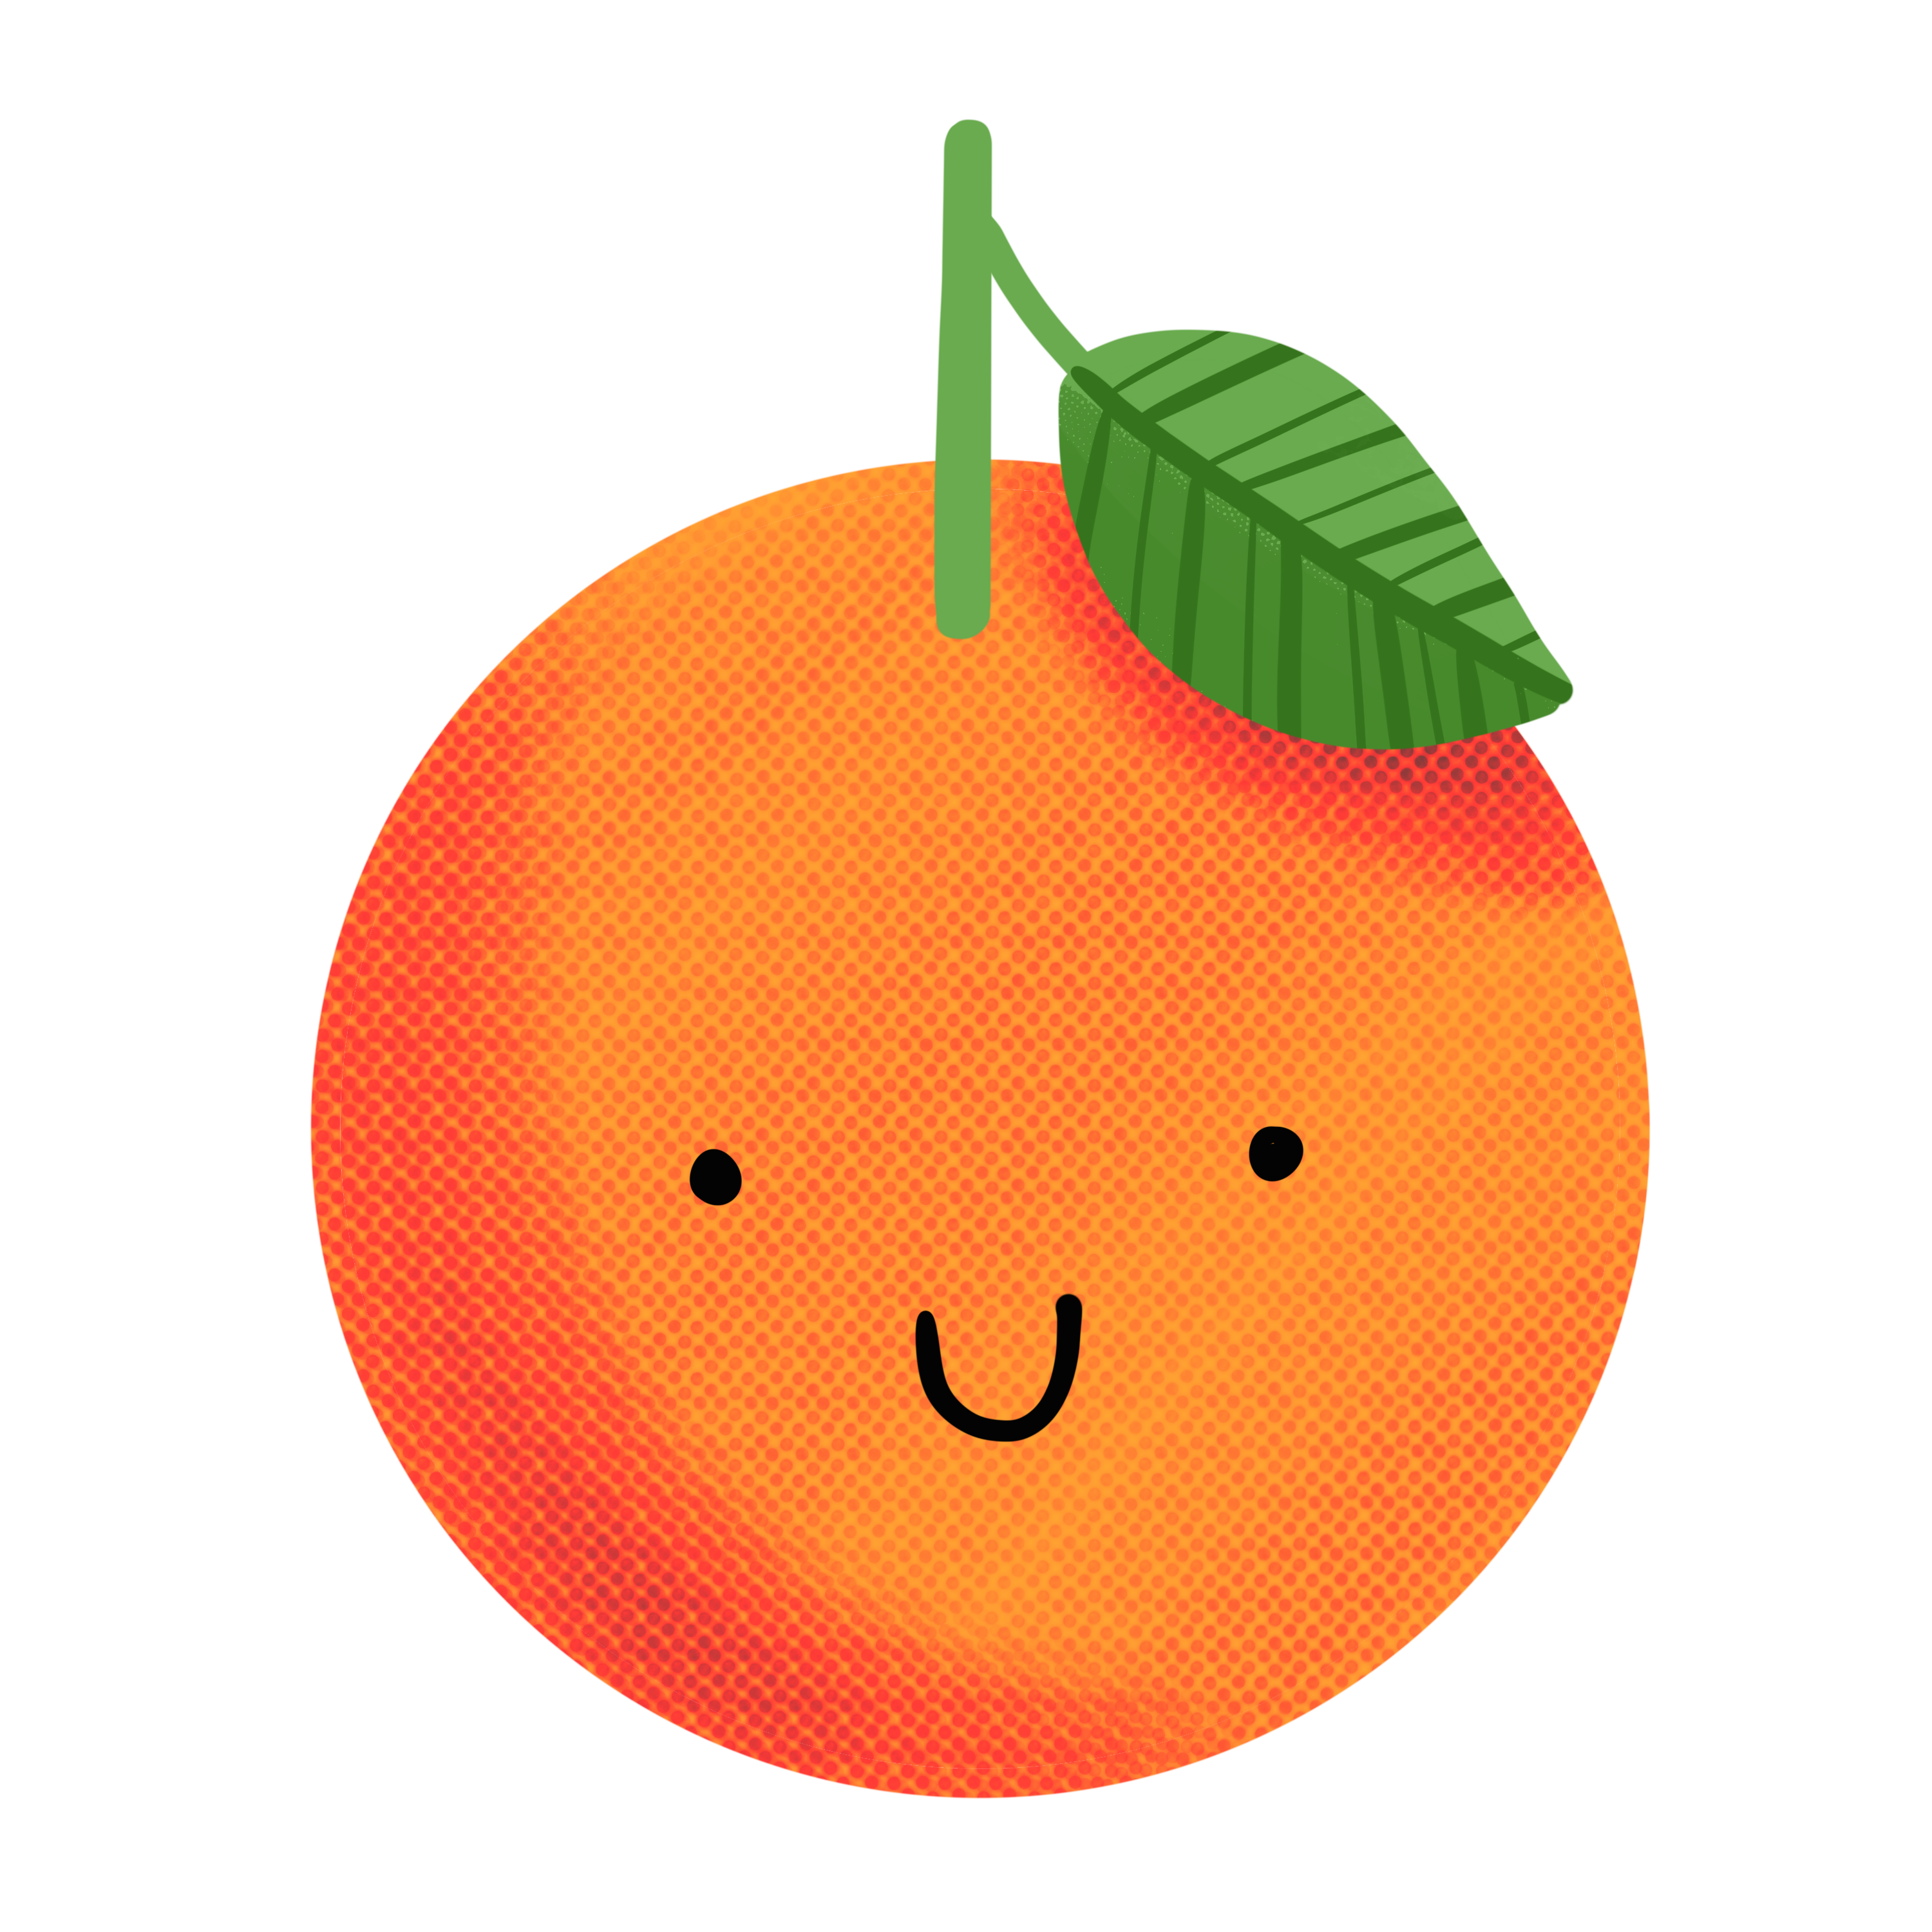
Finished Artwork:
Share your orange illustration below in the comments below along with your favorite tip or feature you learned in this lesson! While you're there, check out the work of your fellow Art Makers and leave a comment of encouragement!
Up Next: Drawing No. 2 - Pear
Great job! You just created your first illustration! In tomorrow's lesson, I'll show you how to expand upon your skills in new and fun ways while drawing a pear.