No.2 - Pear
Welcome to the second drawing lesson of this course! Today we'll be drawing a sliced pear with lots of yummy texture! In this lesson, we'll explore brushes and the textures you can create with them a little more.
In this lesson, I'll show you how to
explore some new brushes
how to use the Eraser tool to refine your shapes
combining textures
Select and Transform tool
adding a background color
🖌️Brushes Used
Pear shape: Studio Pen (Inking set)
Line details: Shale (Calligraphy set)
Pear inner texture: Noise Brush (Materials set)
Peel texture: Grunge (Textures set) and Flicks (Spraypaints set)
Create a new Procreate canvas using the Canvas Template we made for this class and let's get started. Below are some key features from this lesson for you to review.

Eraser to Refine Shape
The eraser can be just as useful as the brush tool when drawing shapes! Start by drawing a simple shape with the brush, then use the eraser to subtract areas away, creating a more complex shape. This is a great way to create and refine the shapes you draw!
Quick eraser select: Tap and hold the eraser to select whatever brush you were using with your previous tool. This is a quick way to match your eraser to your brush strokes.
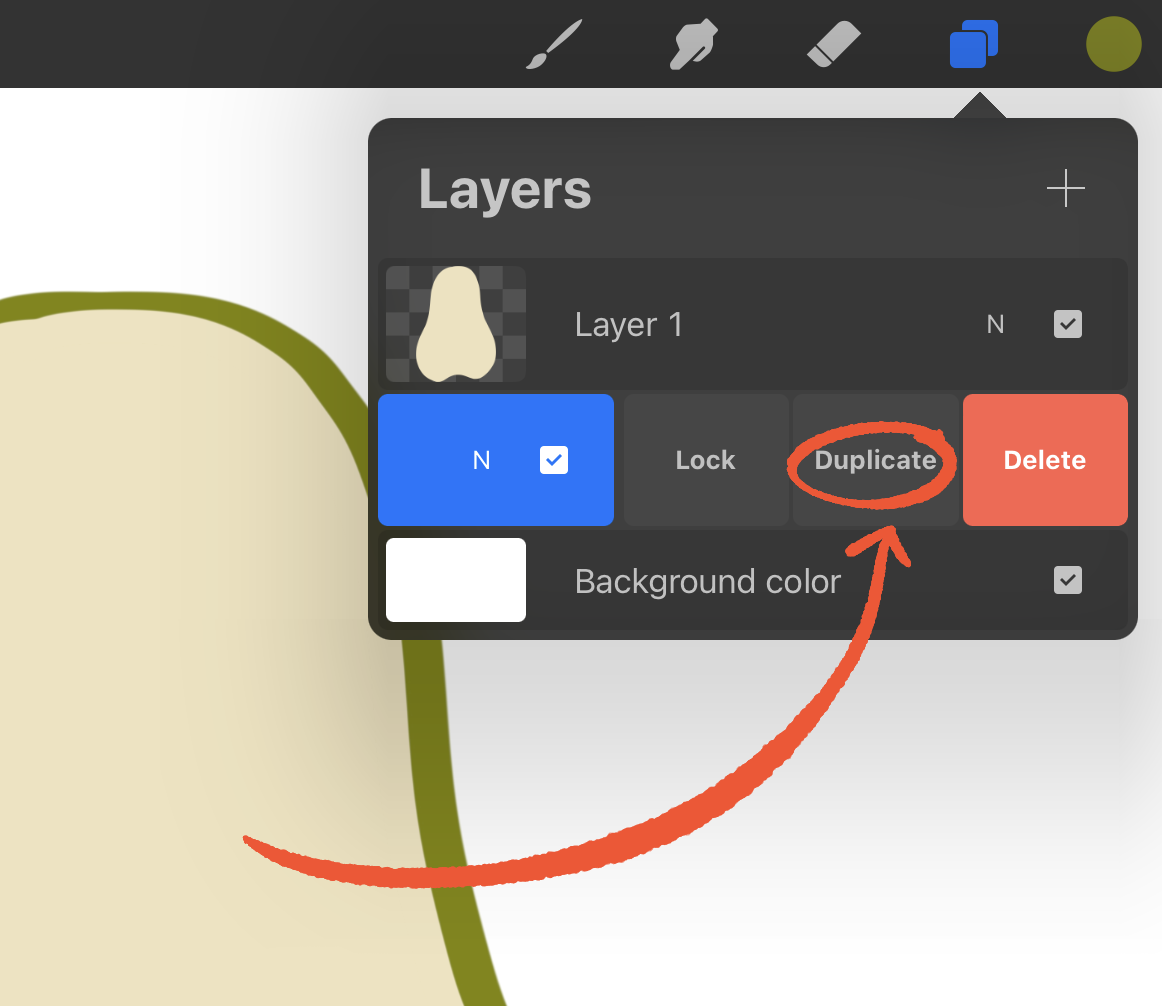
Duplicating a Layer
why draw something twice when you can duplicate? To duplicate a layer, open the layers panel, then swipe to the left over a layer and choose 'Duplicate'.
Transform Tool
The transform tool allows you to move things around your canvas (as well as flip, distort, and warp!) Here's how to make a uniform transformation that keeps your artwork in proportion:
Tap the Transform Tool (arrow icon)
Tap 'Uniform' in the Transform toolbar. This mode will scale your selection in proportion.
Using the blue nodes to drag and resize
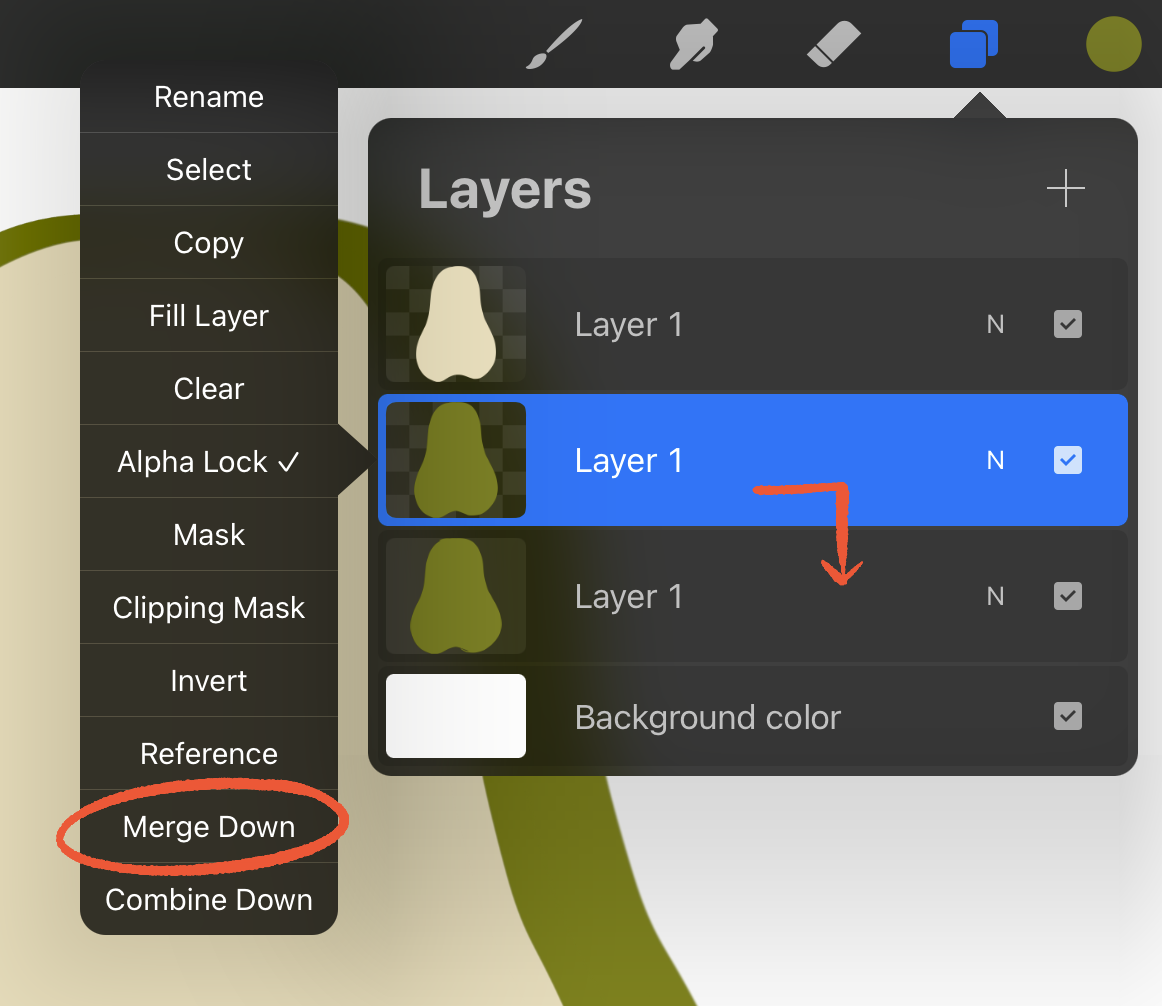
Merging Layers
There are many reasons you may want to merge layers. There are two ways to merge layers together in Procreate:
Open the layers panel, tap a layer and choose 'Merge Down' from the layer options menu.
You can also pinch two or more layers together, but this can sometimes be a tricky gesture to get a handle on.
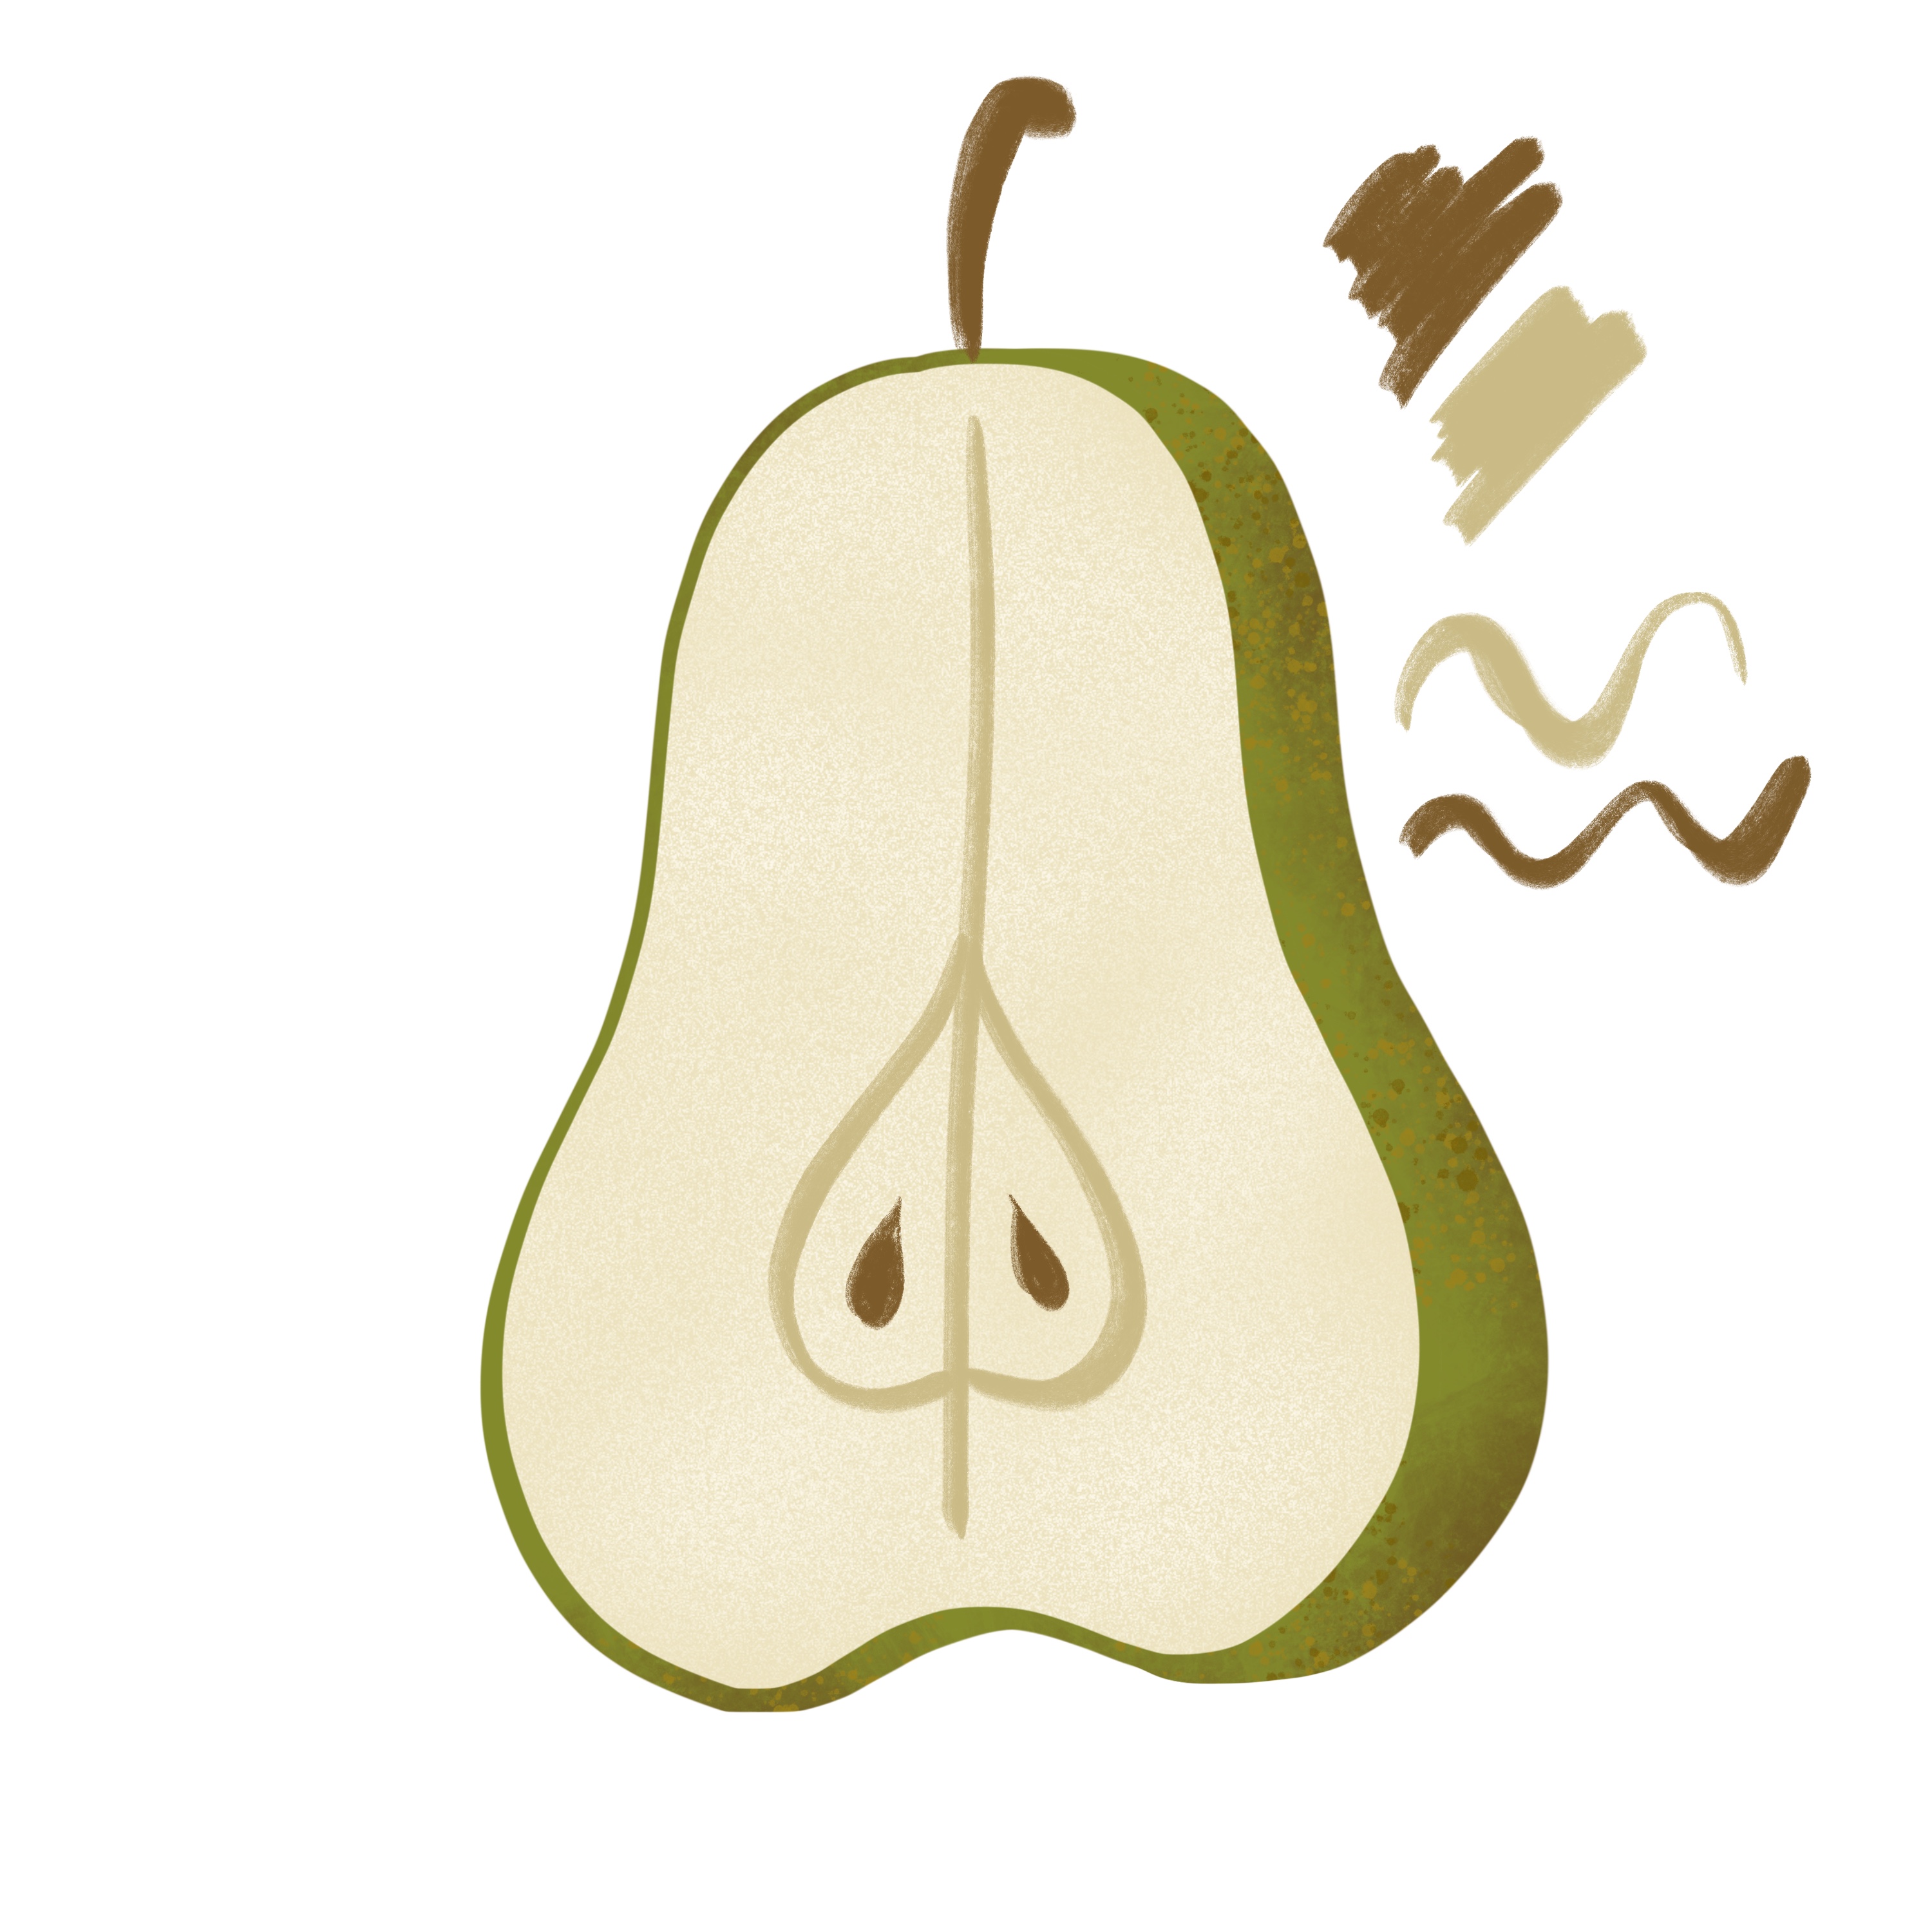
Adding Multiple Textures
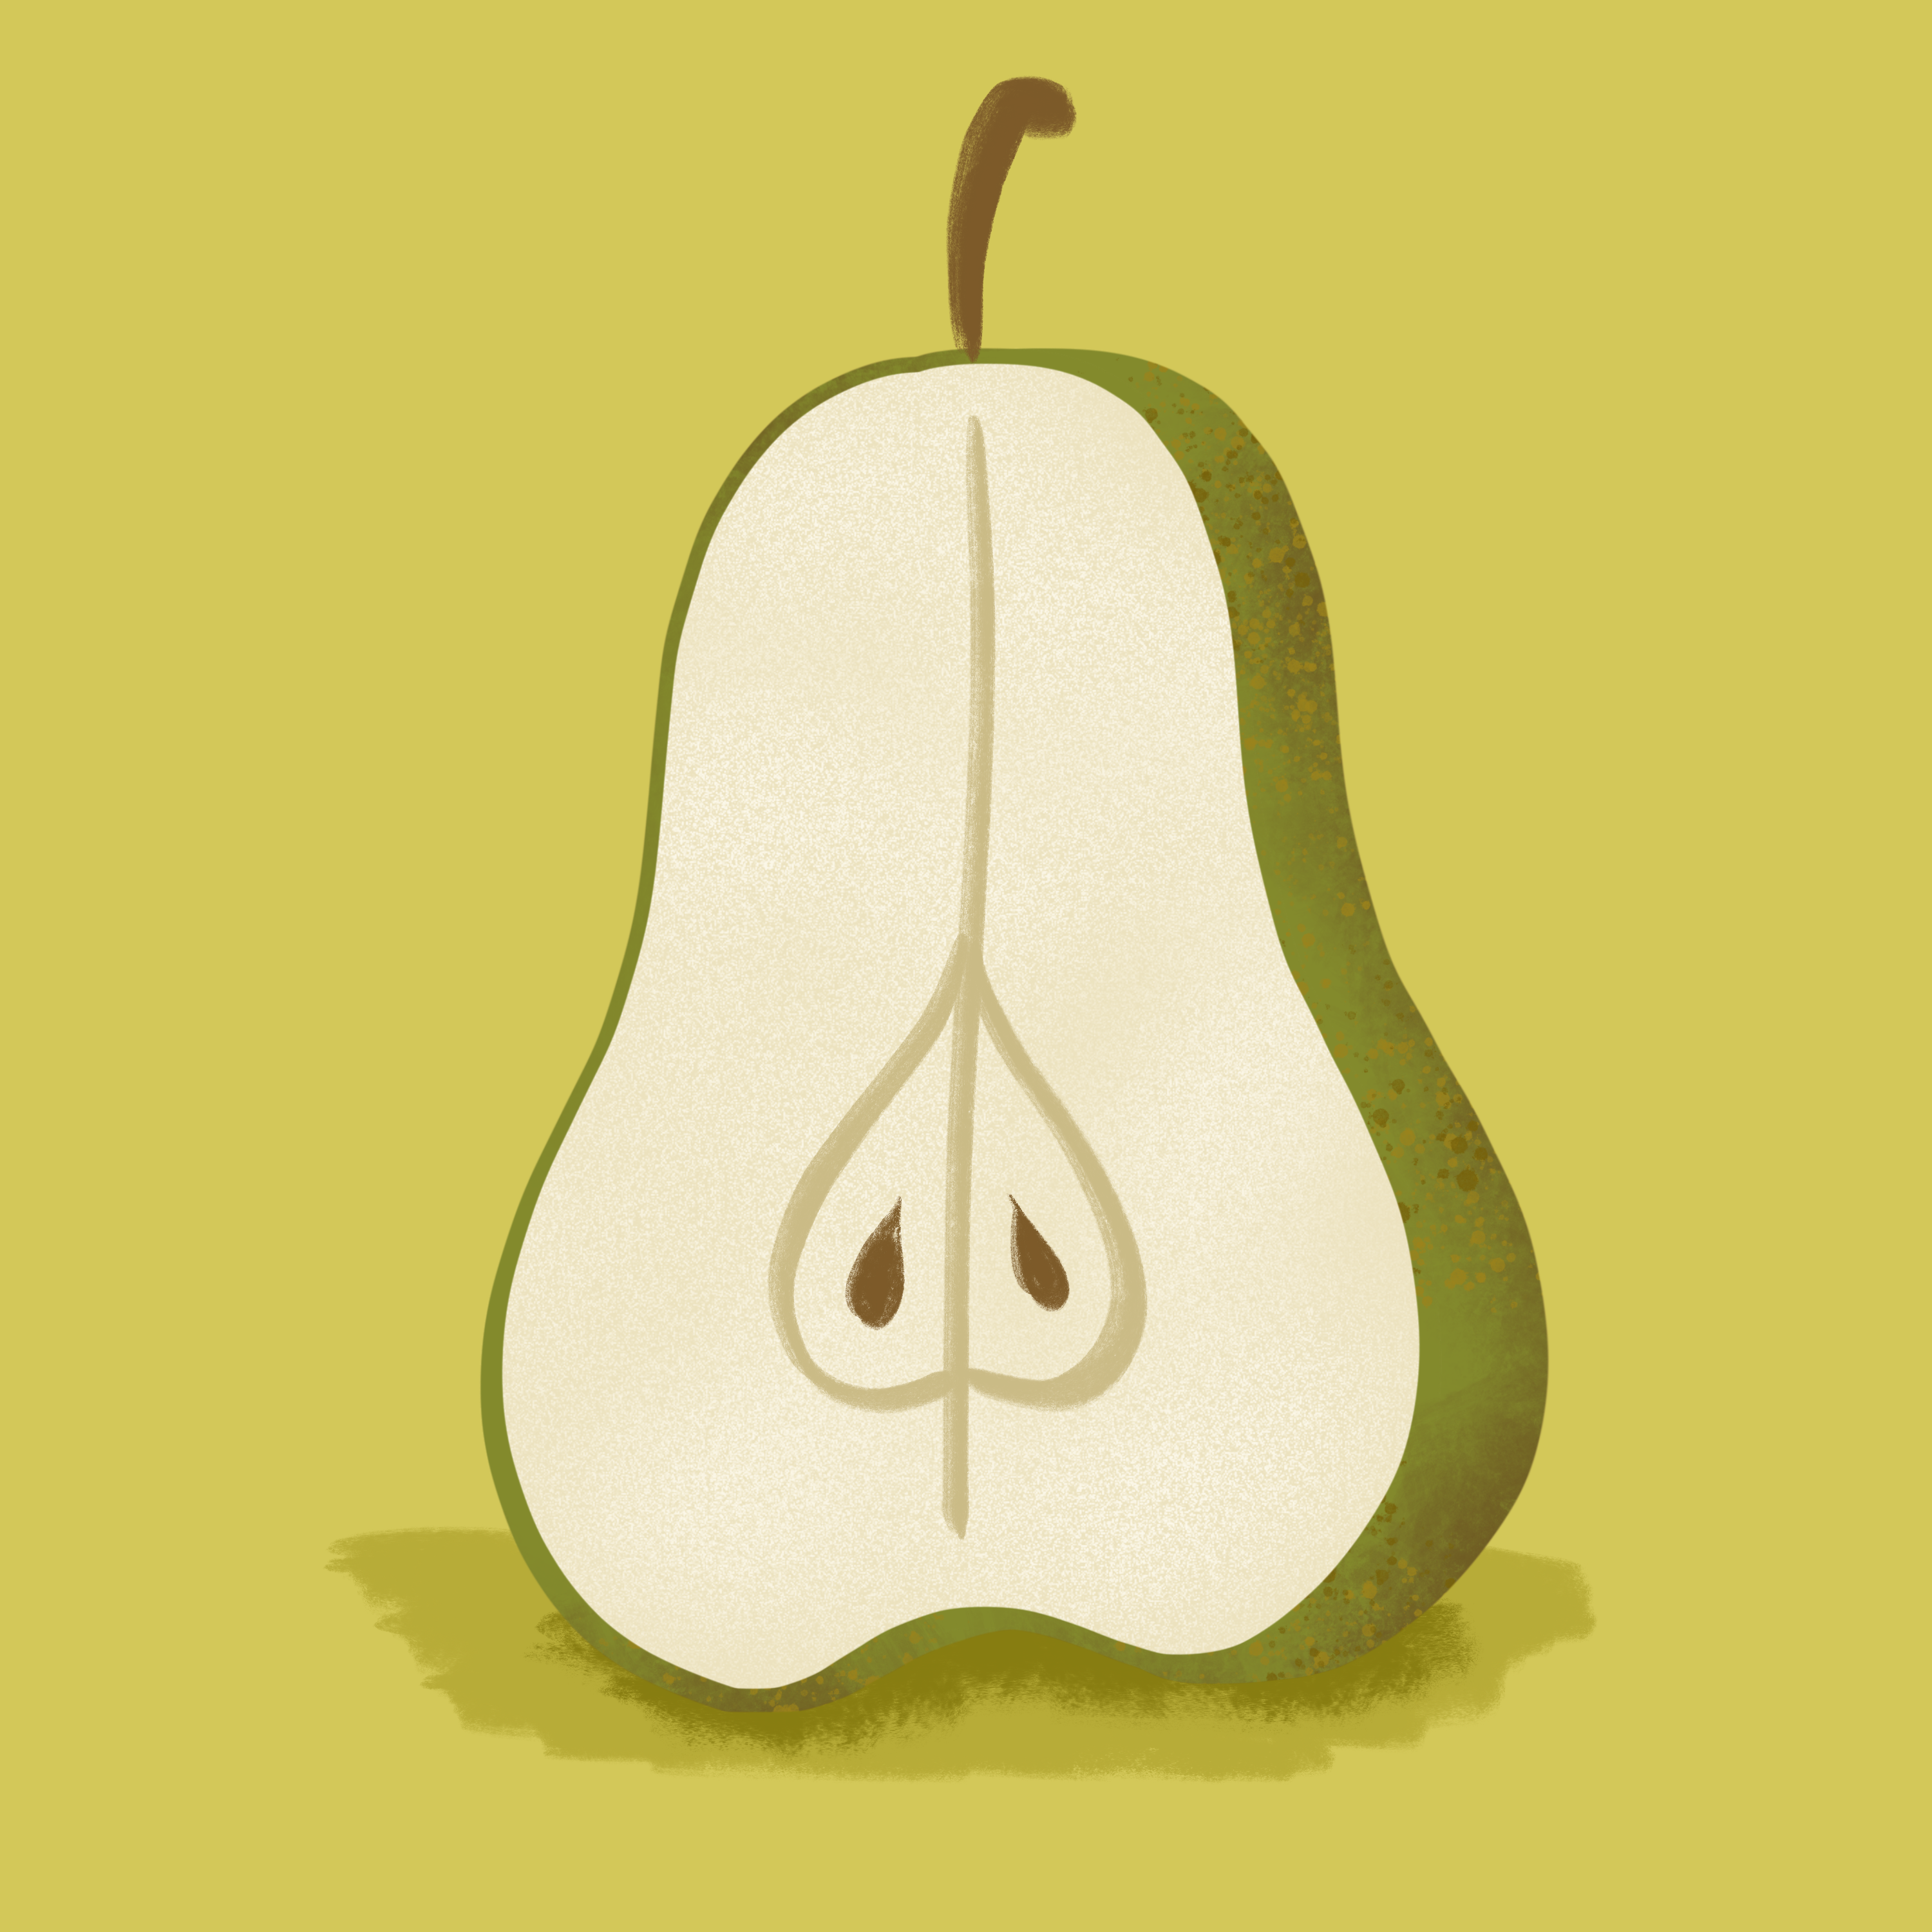
Texture gives a flat illustration a tactile feel. It can create depth and interest in an art piece. It's important to choose a brush that matches the texture of your subject. In our pear, we used a subtle texture created with the Noise Brush for the flesh of the pear. For the peel, we combined the Grunge and Flicks brushes to add variety.
Adding Details
Now that we have some dimension and character with our textures, let's add in some details. We're also going to be using a slightly textured brush to add these details. Choose the Shale brush from the Calligraphy set and add your pear details.
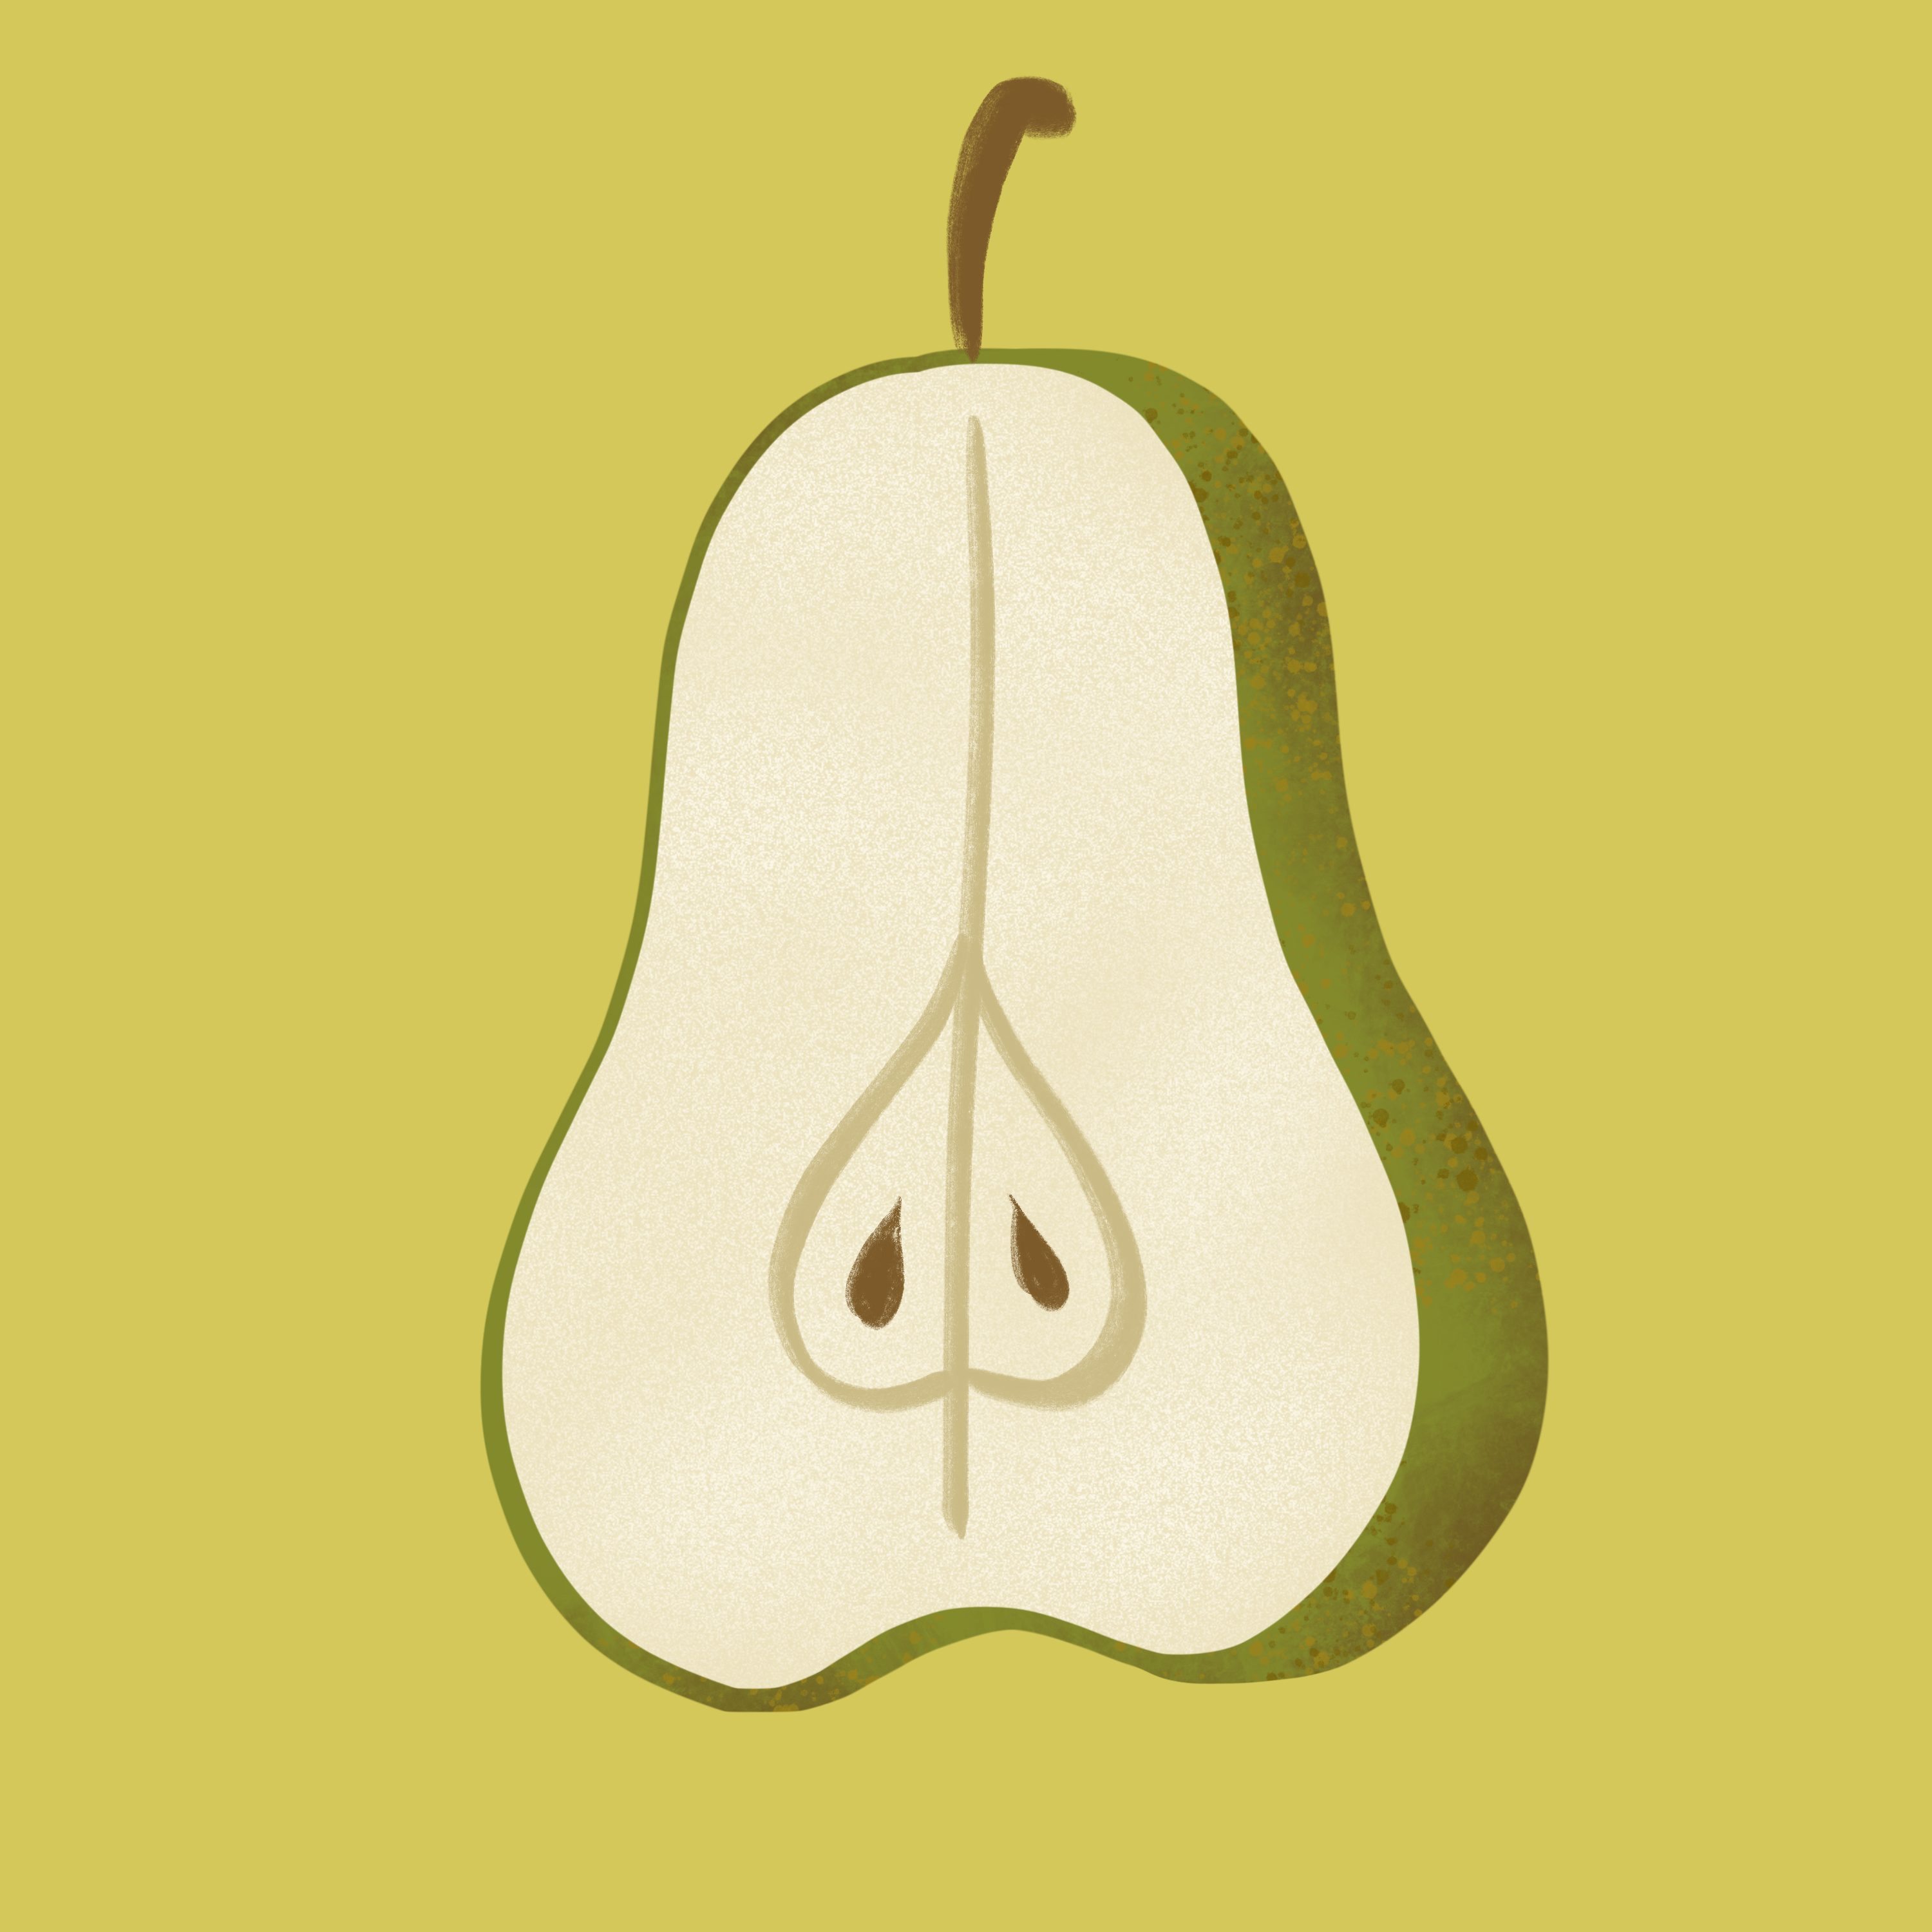
Setting a Background Color
You don't always want a plain white background, so here's how to choose a solid color background in Procreate.
In the layers panel, you'll notice a layer called Background.
Tap Background and select a color in real-time. This is a great way to try out different background colors in your piece.
Creating a Cast Shadow
If you want to make an object look like it is sitting on a surface, a cast shadow can help it feel grounded. I recommend using at least two values when making a case shadow:
Start with a color slightly darker than your background and paint in a broad shadow under the object.
Get an ever darker color and a smaller brush size and paint in a smaller shadow right next to the object.
Finished Artwork:

Share your pear illustration below in the comments below along with your favorite tip or feature you learned in this lesson! While you're there, check out the work of your fellow Art Makers and leave a comment of encouragement!
Up Next: Drawing No. 3 - Fried Egg
In tomorrow's lesson, I will show you how to draw a fried egg. I'll teach you how to make a subject have form using a technique called shading.